Physical Address
304 North Cardinal St.
Dorchester Center, MA 02124
Physical Address
304 North Cardinal St.
Dorchester Center, MA 02124

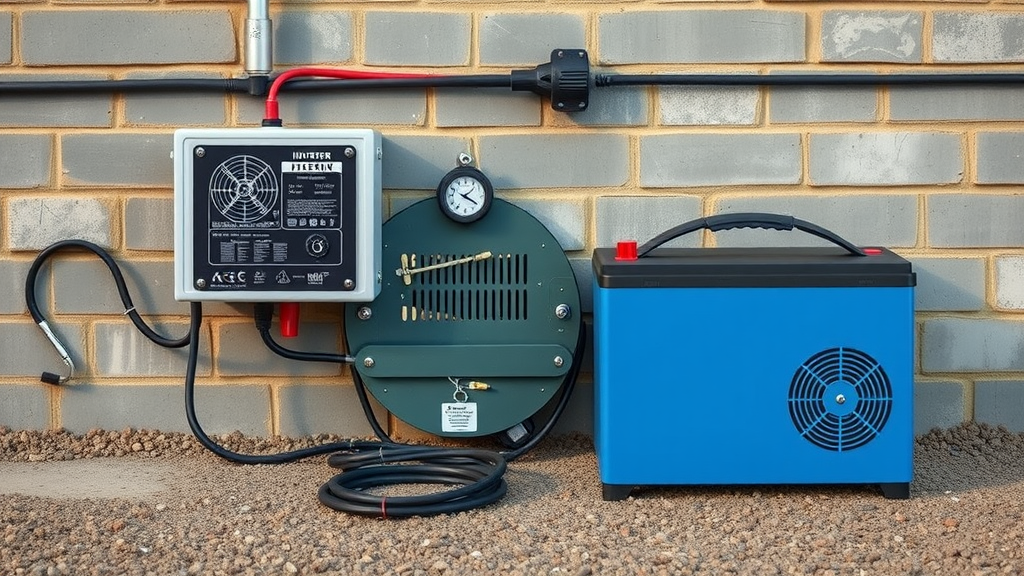
Connect an inverter to a battery using heavy-duty cables and proper terminals to ensure safe power conversion.
Before connecting your inverter, you’ll need to choose an appropriate battery. Consider these critical factors:
Gather these essential tools and materials:
Prioritize personal safety during the connection process:
Follow these precise steps for successful inverter-battery integration:
Clean battery terminals thoroughly using a wire brush to remove corrosion. Ensure terminals are dry and free from debris, which can impede electrical conductivity.
1. Identify positive and negative terminals on both battery and inverter
2. Connect positive cable first (typically red)
3. Attach negative cable (typically black)
4. Secure connections using appropriate cable lugs
5. Tighten connection points to recommended torque specifications
Use a multimeter to confirm correct polarity before completing the connection. Incorrect polarity can damage expensive electrical equipment.
Choose cables based on:
| Inverter Capacity | Recommended Cable Size | Maximum Length |
|---|---|---|
| 1000W | 4-6 AWG | 3-5 meters |
| 2000W | 2-4 AWG | 2-4 meters |
| 3000W | 0-2 AWG | 1-3 meters |
Regular maintenance ensures long-term inverter performance:
Helpful Resources:
Solar Energy Information
Battery Technology Insights
Energy Storage Solutions
Connecting an inverter to a battery requires careful attention to detail and strict adherence to safety protocols. Whether you’re setting up a backup power system or preparing for off-grid living, understanding the proper techniques can prevent electrical hazards and ensure optimal performance.
Before beginning the connection process, gather these critical safety items:
Not all batteries work with every inverter. You’ll need to match:
Proper wiring is crucial for safe and efficient power transmission. Start by identifying positive and negative terminals on both the battery and inverter. Use color-coded cables – typically red for positive and black for negative connections.
| Inverter Capacity | Recommended Cable Thickness |
|---|---|
| 1000W – 2000W | 4-6mm² cable |
| 2000W – 4000W | 10-16mm² cable |
Follow these precise steps to ensure a secure connection:
Electrical connections demand extreme caution. Always work in a well-ventilated area, away from flammable materials. Ensure your workspace is dry and free from potential moisture sources that could cause short circuits.
For additional guidance, consider consulting these expert resources:
After installation, regularly inspect connections for signs of wear, corrosion, or loose terminals. Use a multimeter to check voltage levels and ensure optimal performance. Clean terminals periodically and apply protective anti-corrosion spray.
Remember that improper connections can lead to equipment damage, electrical fires, or personal injury. When in doubt, consult a professional electrician with expertise in inverter and battery systems.
Successfully connecting an inverter to a battery requires careful attention to detail, technical knowledge, and strict safety protocols. By following the essential steps and implementing proper wiring techniques, you can create a reliable and efficient power conversion system for your electrical needs.
The process demands more than just technical skills—it requires a comprehensive understanding of electrical systems and a commitment to safety. Always prioritize using high-quality components, ensuring correct polarity, and maintaining appropriate cable thickness to prevent potential risks like short circuits or power inefficiencies.
Remember that each connection represents a critical link in your power setup. Whether you’re preparing for off-grid living, emergency backup power, or solar energy applications, proper inverter-battery connection is fundamental to achieving consistent and safe electrical performance.
Investing time in understanding the correct connection methods and safety precautions will pay significant dividends. You’ll not only protect your expensive equipment but also create a robust power system that can reliably meet your energy requirements.
Novice and experienced users alike should continuously educate themselves about best practices, technological advancements, and emerging safety standards in inverter-battery connections. Regular maintenance, periodic inspections, and staying informed about industry developments will help you optimize your power conversion setup.
Ultimately, connecting an inverter to a battery is a precise task that blends technical expertise with careful execution. By respecting electrical principles, prioritizing safety, and approaching the process methodically, you can successfully establish a dependable power interface that serves your specific energy needs efficiently and securely.